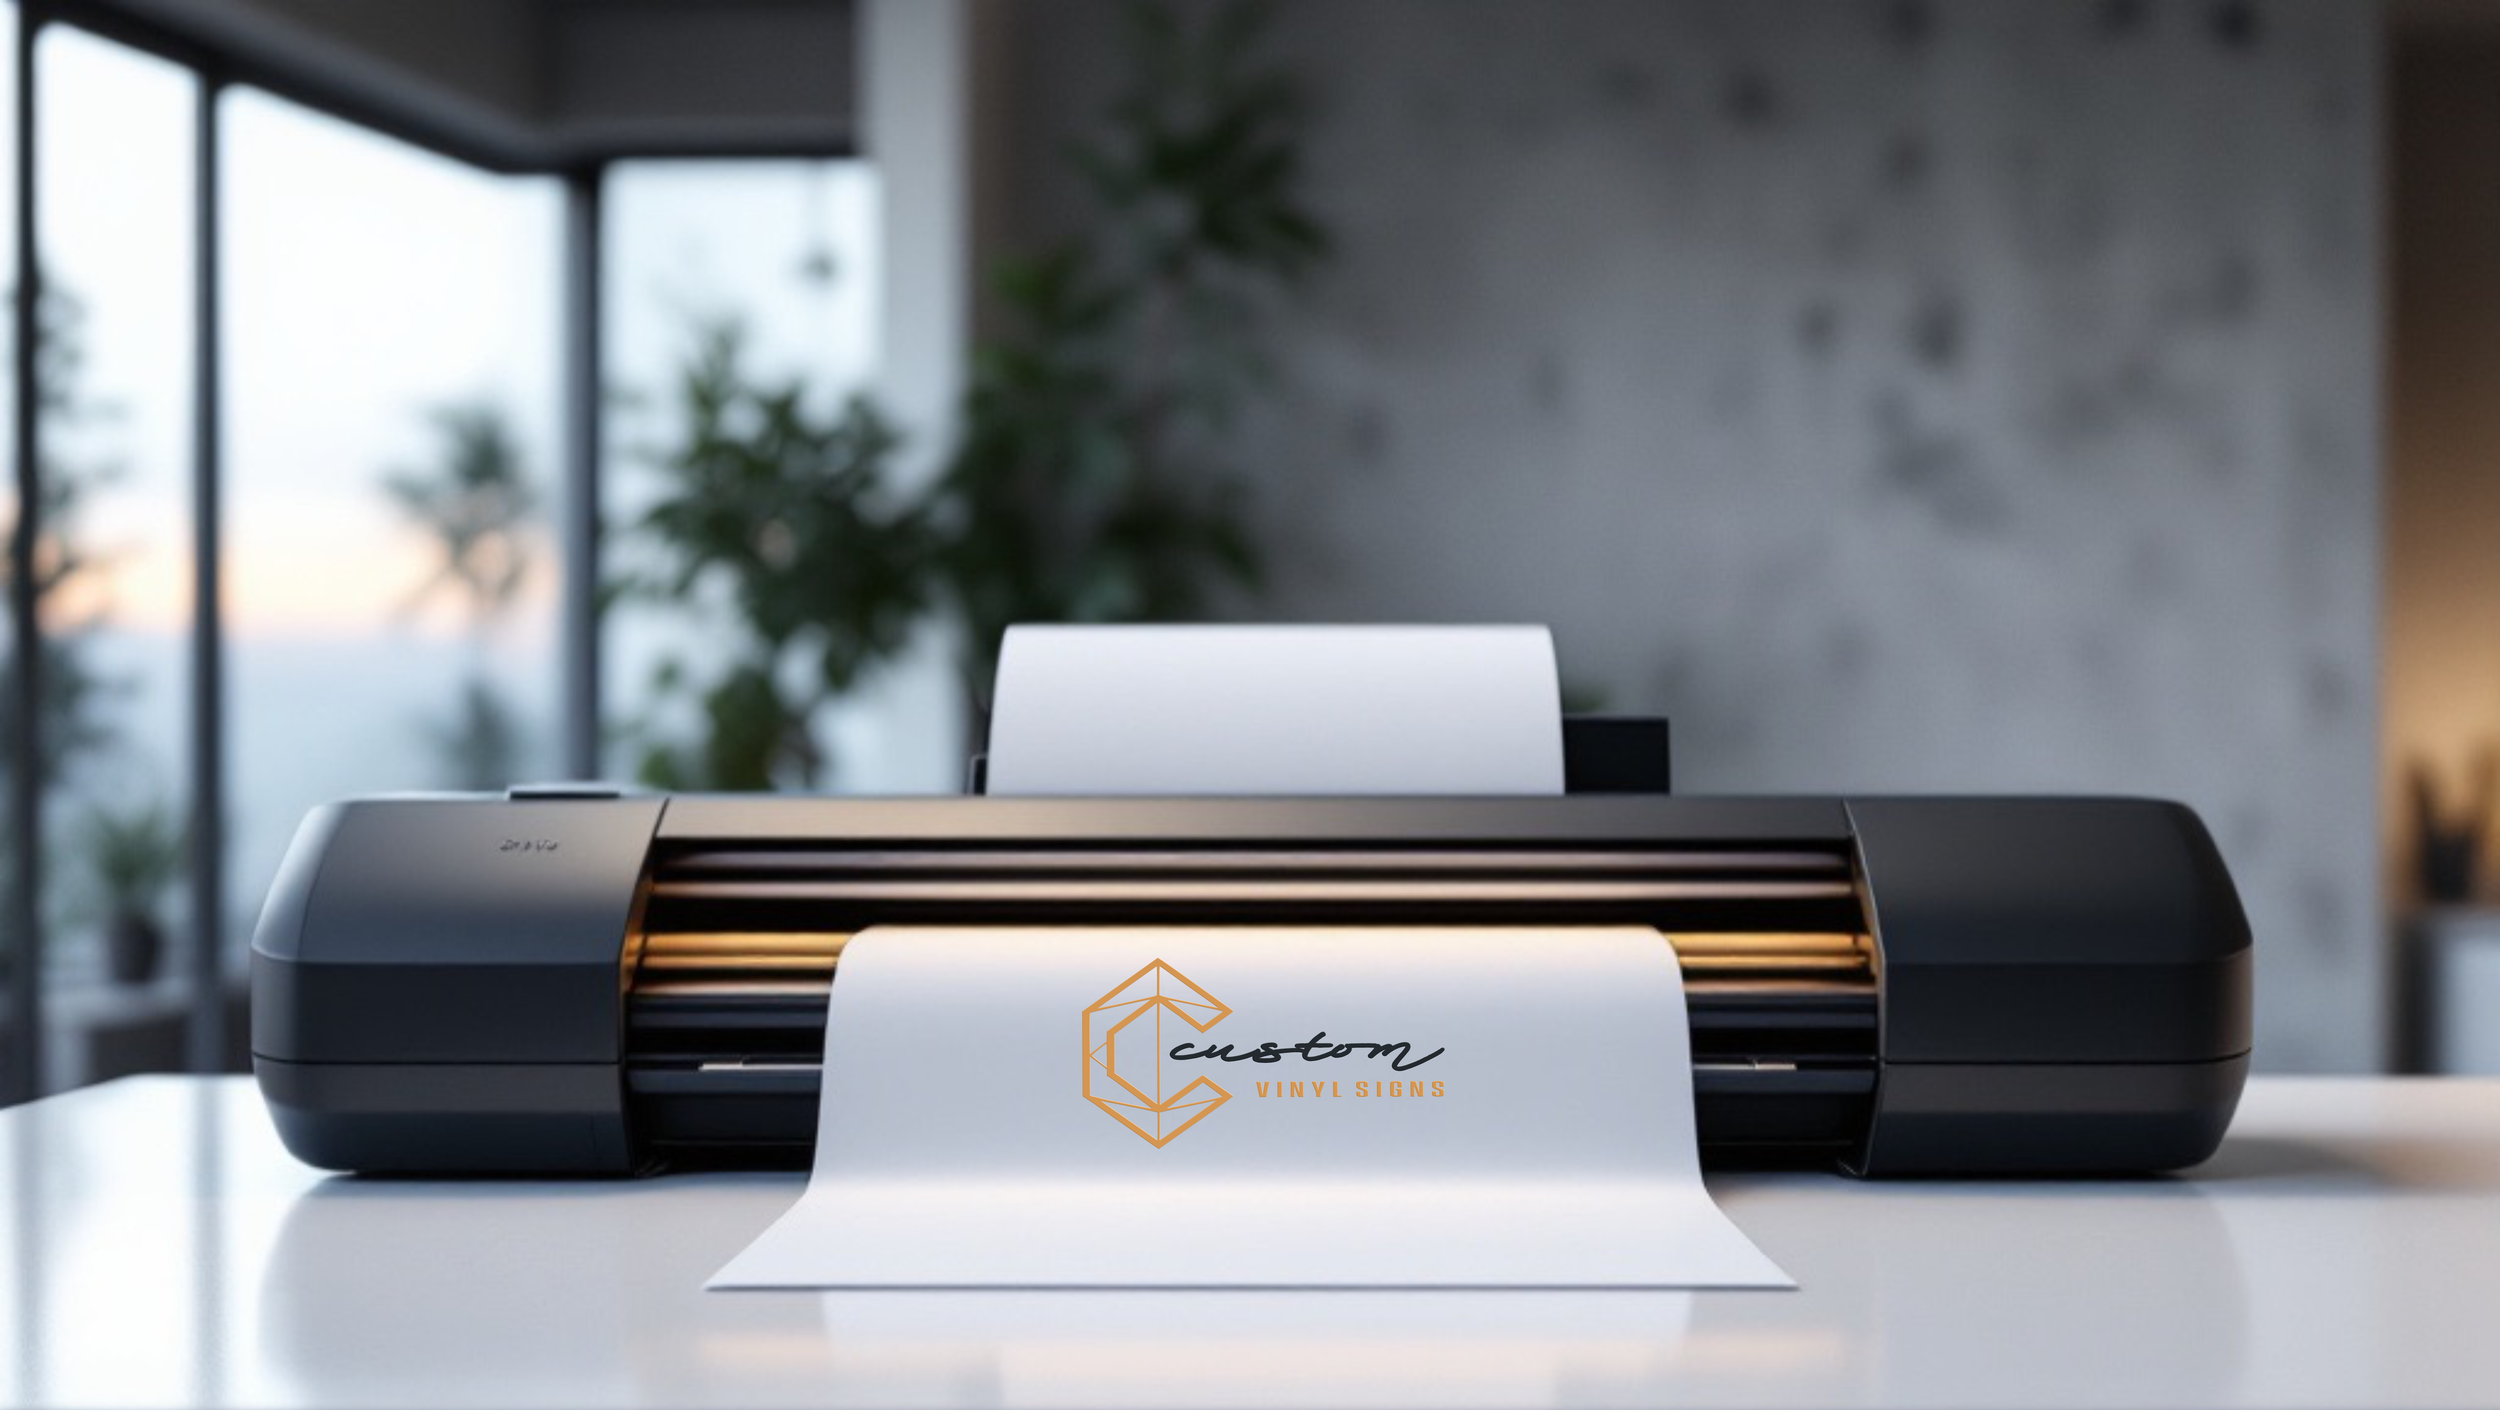
VINYL CUT SIGNS
CARTELES | ROTULOS PERSONALIZADOS
✓ Located in Austin, TX!
✓ Fast Turnover!
✓ Se Habla Espanol!
OUR SERVICES
We make custom vinyl lettering signs for vehicles, windows, and more…
-
Click to Upload your design OR click on a category above to browse our gallery of designs.
Choose the size and color(s).
Fill out the Get Quote form or call/text 512-810-2907.
-
Made from professional-grade, waterproof indoor/outdoor vinyl.
Six-year outdoor durability.
Only 2.5 mils thick.
Easy installation (watch our tutorial VIDEO for step-by-step instructions).
-
Since our signs are custom-made, prices may vary based on size, color options, and complexity. To receive a personalized quote, please fill out our Get Quote form.

Shop our Products
-
![]()
Commercial Signs
DOT | TX DMV | MC | VIN | Logo | Company Name | Unit Number | and more…
-
![]()
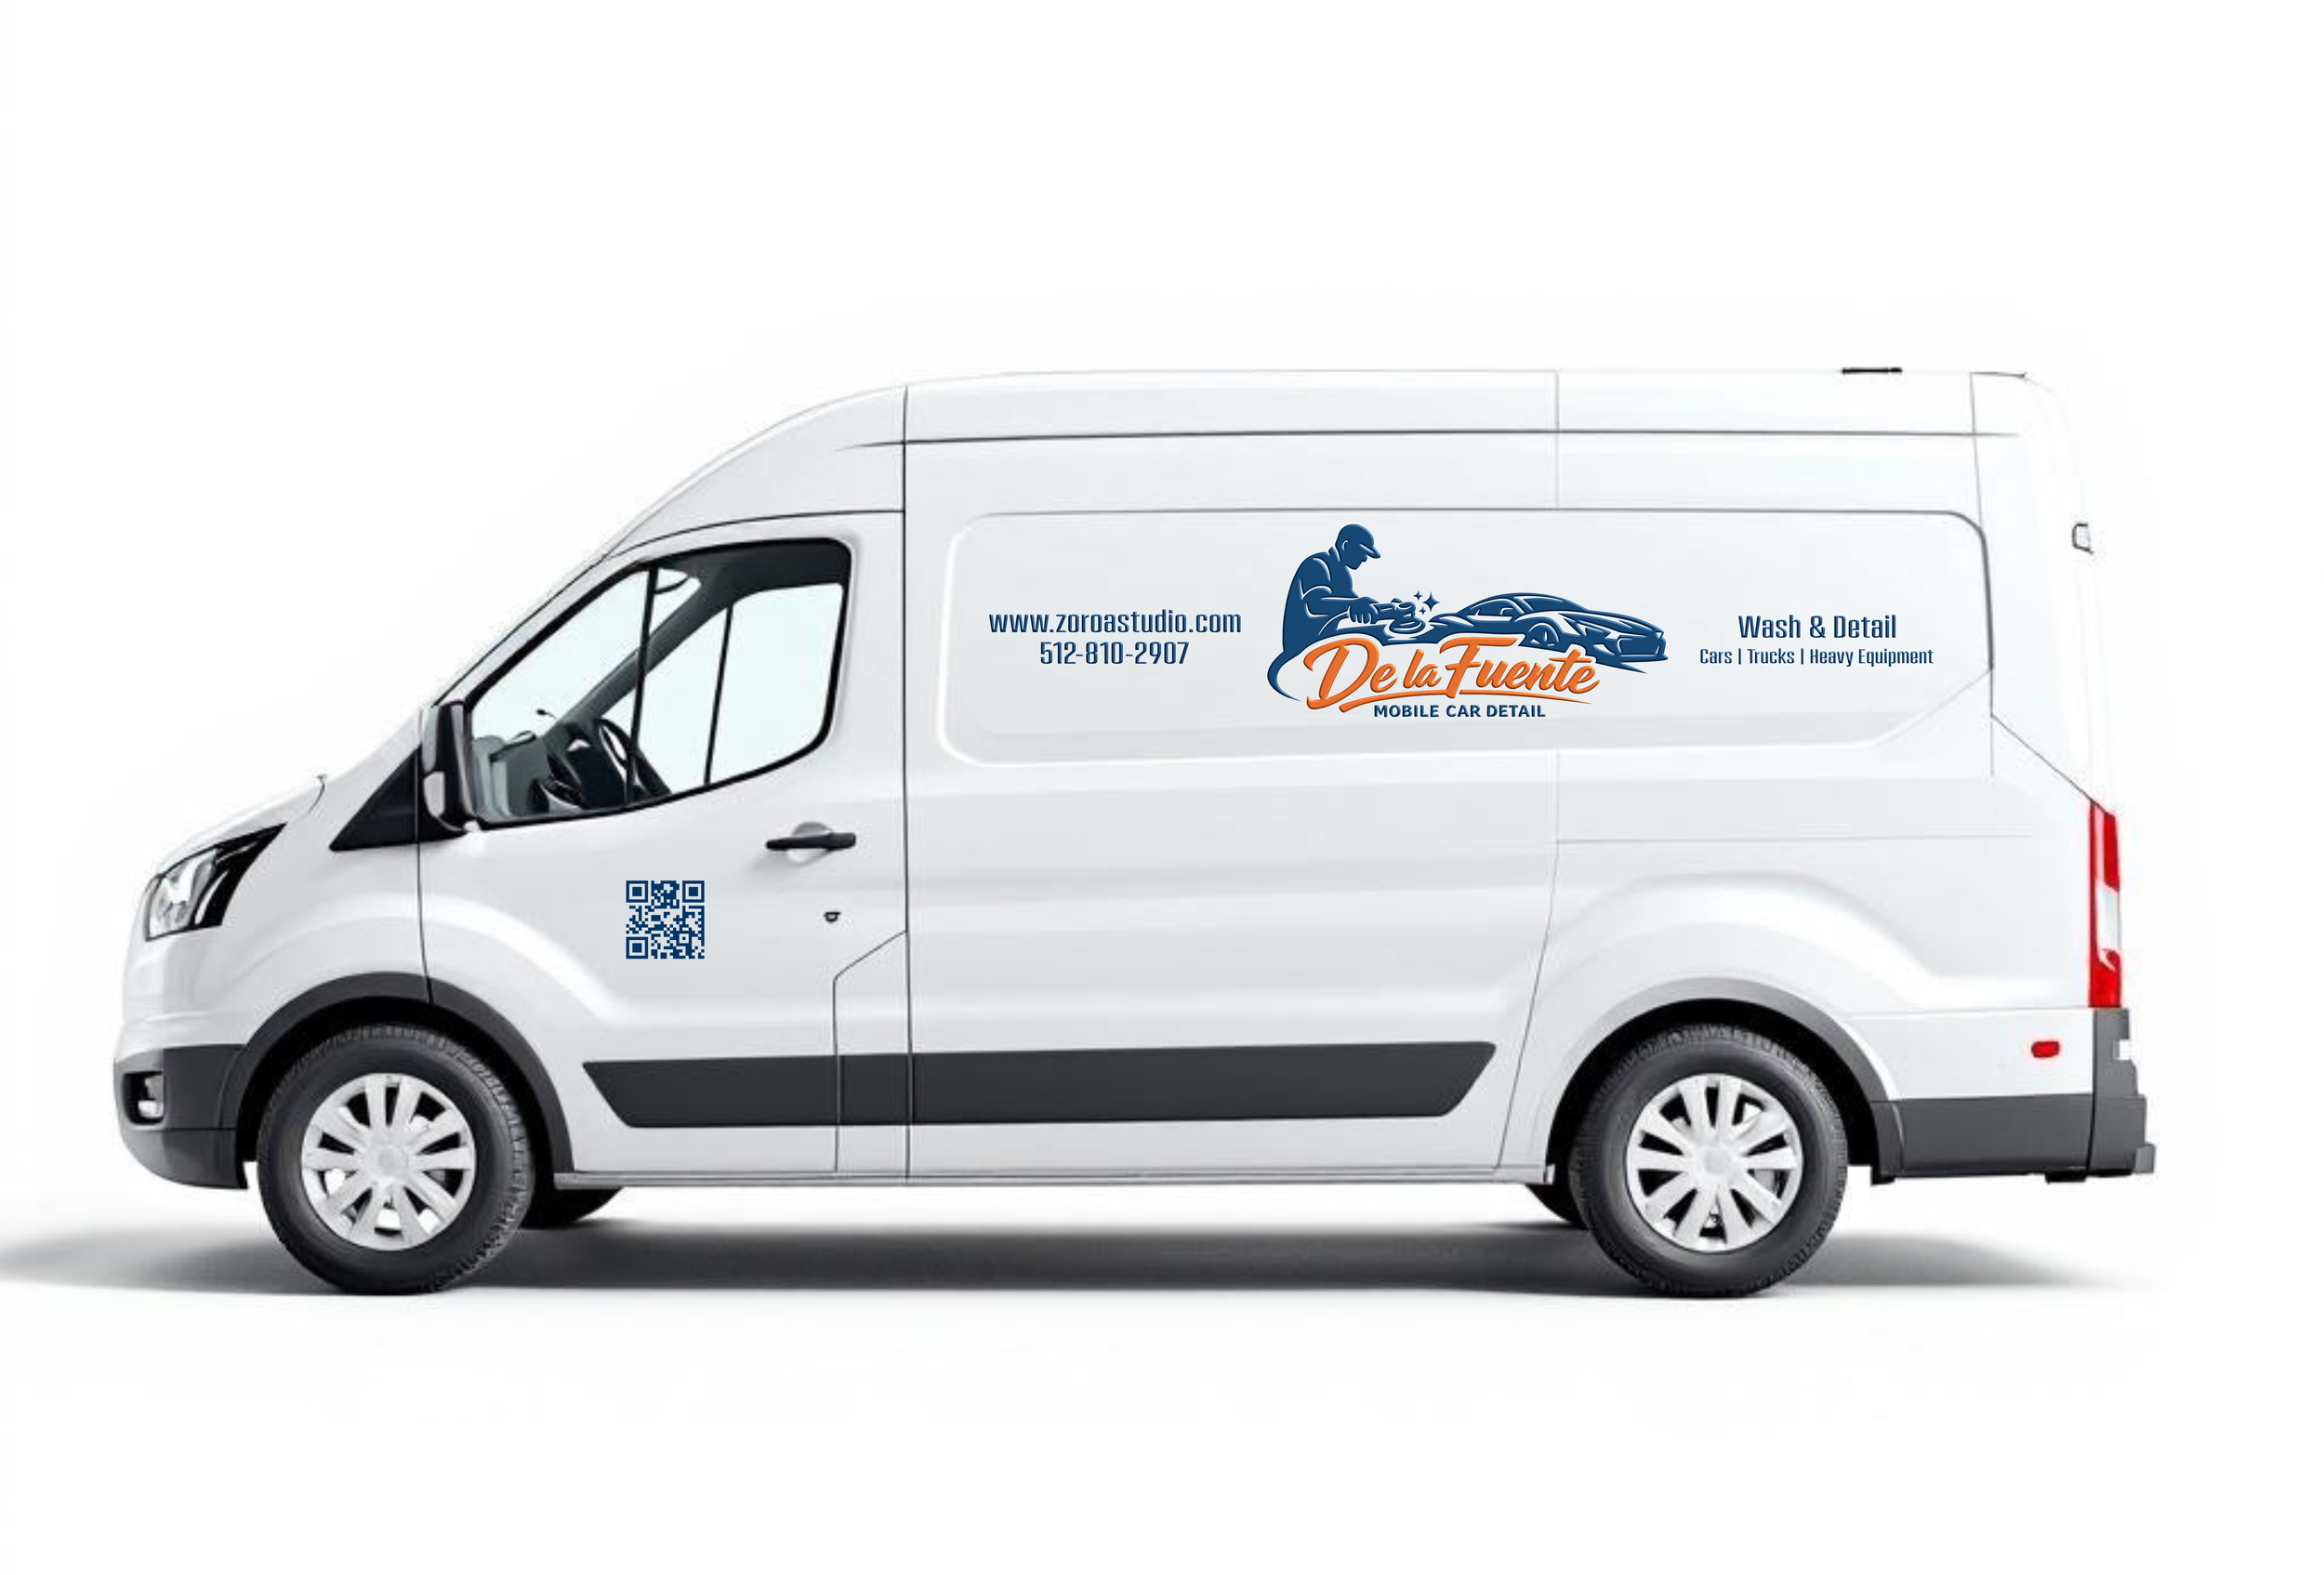
Decorative Decals
Personalized your ride with custom made designs that represent you.
-
![]()
Advertisement Signs
Make your car work for you. Advertise your business and drive around town.
-
![]()
Logos
CUSTOMER SERVICE MANAGER
Friendly, attentive, and always ready to help, our customer service manager ensures every interaction is a positive one. They keep communication clear, timely, and human.
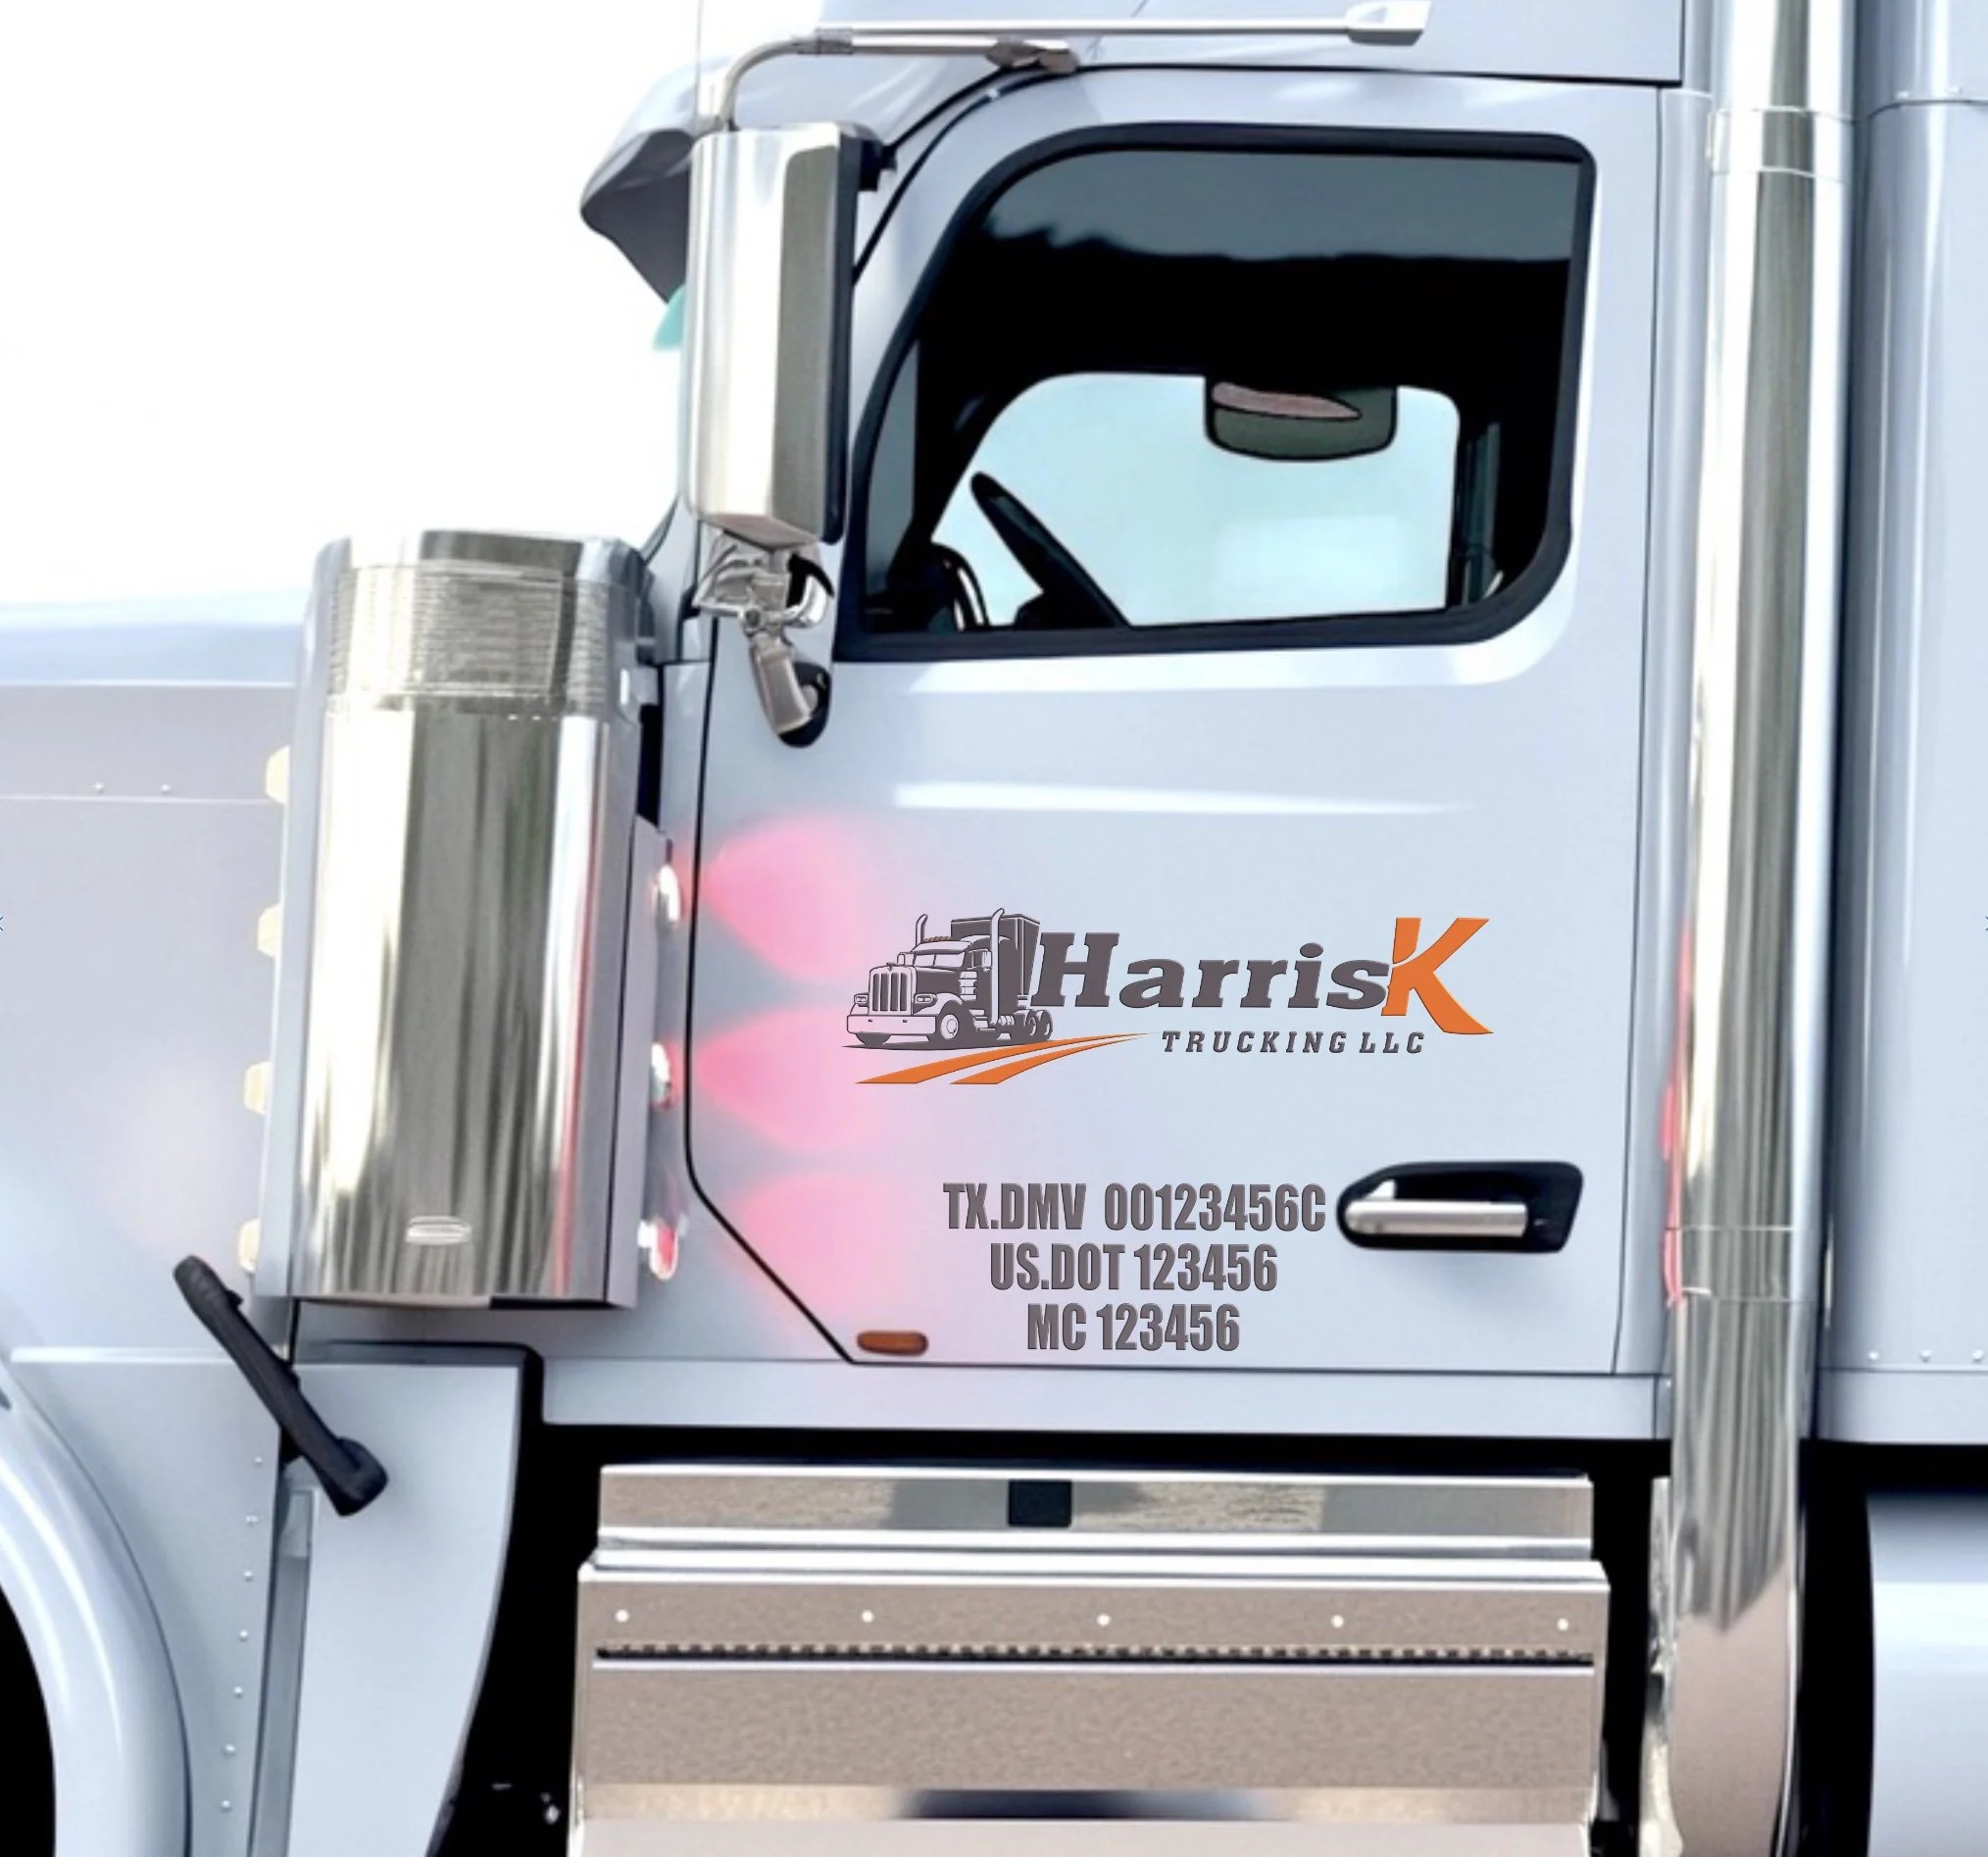


Make Your Truck Work for You
Professional DOT & company door decals designed to get you noticed.
Company name, logo, DOT, TX DMV & MC numbers — both doors.
Starting at $40
✓ DOT-compliant Layouts
✓ Trusted by Texas
✓ Fast Turnaround
FREE LOGO
Included with every commercial vehicle decal order

DYI Decal Installation
In this tutorial video, we share how to easily install Vinyl signs that are properly aligned and have no bubbles.
-
1. Clean the Surface: Ensure the area where you will apply the decal is clean and dry.
2. Align the Decal: Use a measuring tape or ruler to position the decal accurately on the surface.
3. Secure with Masking Tape: Adhere the top edge of the decal to the surface using masking tape.
4. Remove the Backing: Carefully peel away the backing of the decal while ensuring the top portion does not touch the surface. Make sure to remove the backing completely to ensure all vinyl adheres to the transfer tape, leaving no parts on the backing paper.
5. Apply the Decal: Using a squeegee, ruler, or credit card, press firmly on the transfer tape, starting from the top and working down to transfer the entire decal onto the surface.
6. Eliminate Air Bubbles: Gently scrape over the decal with the squeegee to remove any air bubbles that may have formed.
7. Remove the Transfer Tape: Carefully peel off the transfer tape, revealing your newly applied decal.
-
1. Clean the Surface: Start with a clean, dry area where the decal will be placed.
2. Align the Decal: Use a measuring tape or ruler for precise alignment on the surface.
3. Secure with Masking Tape: Tape the center of the decal to the surface using masking tape to hold it in place.
4. Remove the Backing: Gradually peel back one side of the backing, ensuring the transfer tape does not touch the surface. Again, remove the backing entirely to make sure all vinyl adheres to the transfer tape.
5. Apply the Decal: Press down on the transfer tape with a squeegee, ruler, or credit card, starting from the top and moving downward until the entire decal is adhered to the surface.
6. Eliminate Air Bubbles: Gently scrape over the decal with the squeegee to remove air bubbles.
7. Remove the Transfer Tape: Carefully peel off the transfer tape, finishing your installation.

DESIGN SERVICES

Don't have a design yet? No problem! Just share your vision with me, and I'll create a couple of design options and send you mock-ups to choose from. Alternatively, you can select one of the designs displayed in the sign gallery.